Virtualization: My Experience, Insights, and How You Can Get Started
A personal look into virtualization technology, a brief overview of how it works, the differences between hypervisor types, and how to begin using Oracle VirtualBox, VMware Workstation, and Hyper-V.
Virtualization. I have personally always been a fan of virtualization in computing. When I was getting my career started and studying towards the CompTIA A+ certification, I thought it was the coolest thing in the world that you could download something such as Oracle VirtualBox, and setup a virtualized Windows or Linux PC and have it run on your computer like an application.
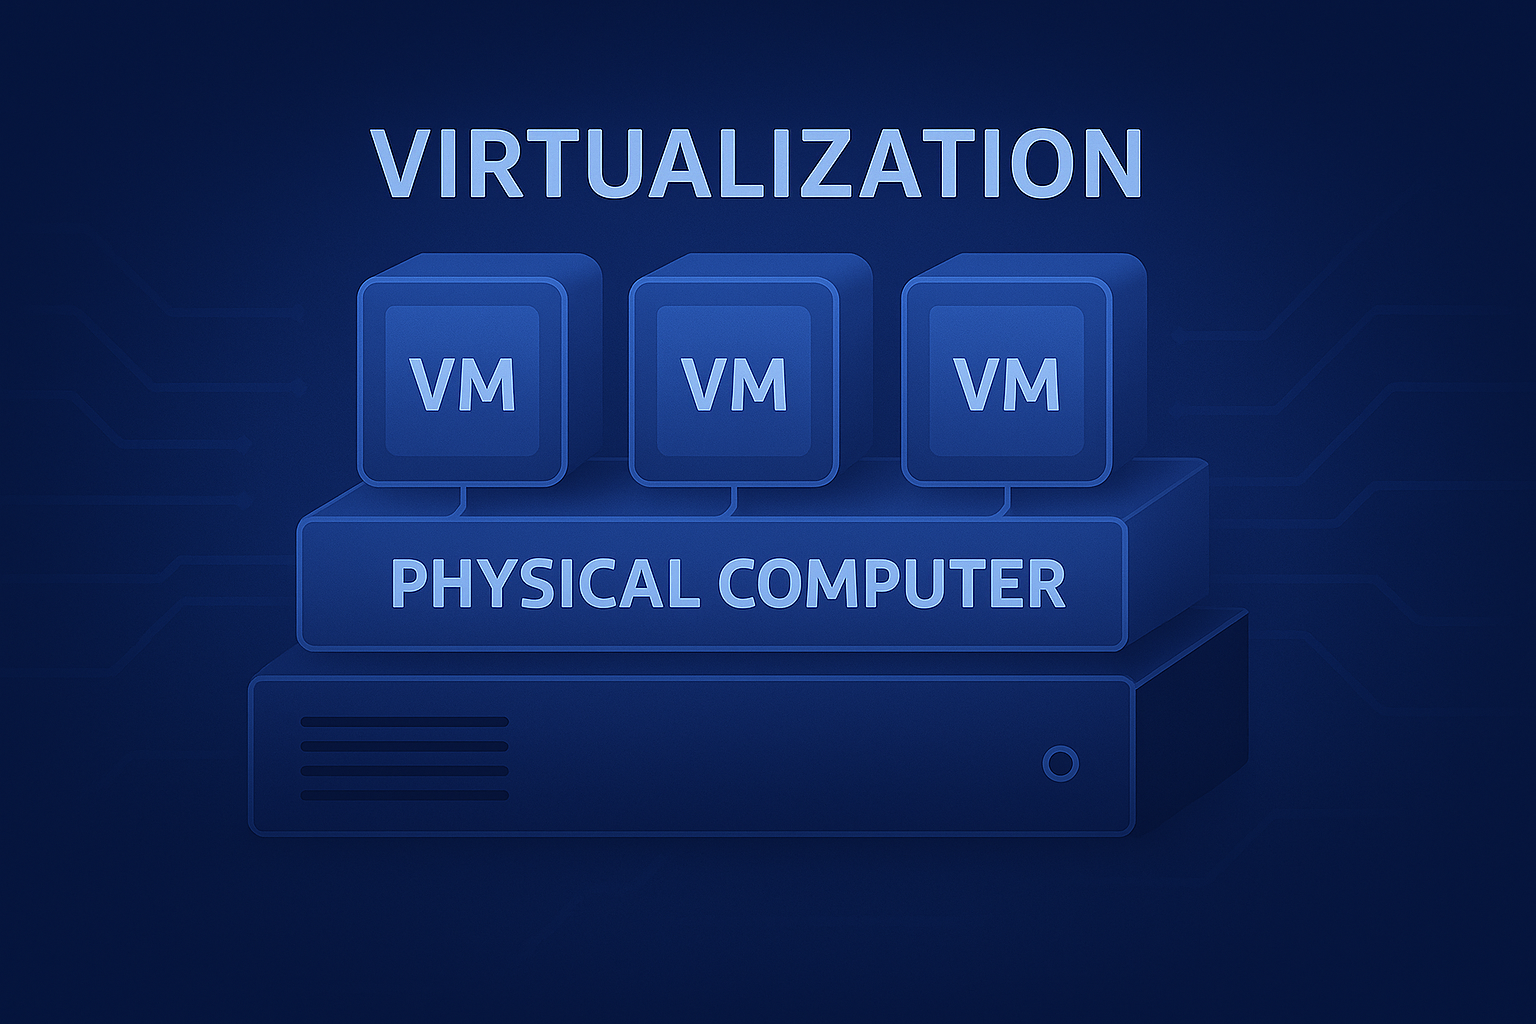
I thought it was even cooler to find that from the perspective of a guest operating system, the virtual machine behaves just like a real physical computer. It has no awareness that it's running inside another system; it powers on, sees virtualized hardware, and operates normally.
Virtual Machine (VM) implementations can be in the form of a Type 1 or Type 2 Hypervisor. The Hypervisor is essentially the engine that runs and manages the virtualization tasks behind the scenes.
Type 1 Hypervisors are bare metal setups. The hypervisor runs directly on the hardware as a VM host and bridges virtualization tasks between the physical hardware and the guest operating systems. Popular Type 1 hypervisors include VMware ESXi and Microsoft Hyper-V.
Type 2 Hypervisors run directly on top of the operating system, not the hardware. A Type 2 implementation depends on hardware that supports virtualization. Common examples include Oracle VirtualBox and VMware Workstation.
What's also really nice is that Hyper-V is built into Windows 11 Pro, Enterprise, and Education editions. The design of Hyper-V functions directly on the hardware level, making it a Type 1 Hypervisor in every implementation. Whether it's running on enterprise-grade servers or a standard laptop that meets the hardware requirements.
I find virtualization to be fun, exciting, innovative, and endlessly useful. Virtual Machines are fantastic for experimentation and incredibly helpful across many IT disciplines including networking, cybersecurity, DevOps, system administration, scripting, and more.
From building labs and training environments to sandboxing, setting up virtual servers, or simply tinkering out of curiosity, virtualization provides limitless learning opportunities.
When it comes to home lab setups with Oracle VirtualBox, VMware Workstation, or Hyper-V, I think it's fair to say that each virtualization platform has its own advantages and disadvantages. Some may prefer one platform over another, and sometimes you'll run into an issue you don't want to troubleshoot, so you switch platforms entirely.
The following outlines how to get started with virtualization, including examples across multiple hypervisor platforms.
Oracle VirtualBox
Oracle VirtualBox is a popular Type 2 Hypervisor and a common starting point. Setup and installation are generally straightforward. Installing it on Linux via terminal includes a few extra steps, whereas on Windows it's a follow-the-prompts installation wizard.
Oracle VirtualBox can be downloaded at: https://virtualbox.org
Installing Oracle VirtualBox on Ubuntu 24.04
1. Create the APT Keyring Directory & Download the Oracle VirtualBox Repository Signing Key
To get things started, create the /etc/apt/keyrings directory in the specified path below. This is the directory path Ubuntu now uses
to securely store repository signing keys.
After the APT Keyring Directory is created, the next command downloads the Oracle VirtualBox public key. Downloaded with the use of the wget command and piped into gpg to be processed and used by the system.

2. Retrieve the System codename
Before adding the VirtualBox repository, run this command to confirm the System's Ubuntu codename.
VirtualBox organizes its download repositories based on Ubuntu release names, so the codename must match your version entirely.
In this example, the code name is UBUNTU_CODENAME=noble

3. Add the VirtualBox APT Repository
With the system's codename from step 2 verified noble on Ubuntu 24.04 LTS, the next step
is creating and setting up the repository file that tells Ubuntu where to download the VirtualBox packages.
Ubuntu uses .sources files to define external package repositories.
To create the file, run sudo nano /etc/apt/sources.list.d/virtualbox.sources
Inside nano, add the following:
Replace noble with the codename that applies to your Ubuntu installation.

4. Update APT Packages Lists
Running sudo apt update refreshes Ubuntu's package lists, allowing it to
recognize the newly added VirtualBox repository.

5. Install VirtualBox
The sudo apt install virtualbox-7.0 command installs the latest compatible
version of VirtualBox along with any required dependencies.


6. Approve Installation
On the Do you want to continue? prompt, press Y + Enter to run the installation.


7. Installation Complete

8. VirtualBox Successfully Installed
VirtualBox fully installed and ready to launch from the system menu or terminal.

VMware Workstation
Similar to Oracle VirtualBox, VMware Workstation is also a Type 2 Hypervisor, but it provides a more advanced and polished experience. Many users prefer VMware because of its enhanced performance, stability, and virtual hardware support.
VMware Workstation can be downloaded at: https://www.vmware.com/products/desktop-hypervisor/workstation-and-fusion
A free VMware account is required to download the Windows and Linux versions.
Installing VMware Workstation on Windows 11
1. VMware Workstation Installer Startup - Begining Setup Wizard
The setup wizard begins, Select Next to continue through the installation steps.

2. Accepting the License Agreement
The End-User License Agreement (EULA) must be reviewed and accepted before installation can proceed.

3. Select the installation destination and any additional features

4. Click Install

5. Installation underway

6. Installation in progress


7. Installation Complete

8. VMware Workstation Ready to Launch
After installation completes, VMware Workstation can now be launched from the Start Menu. You are now ready to create your first virtual machine.

Hyper-V
Hyper-V is Microsoft's built-in virtualization platform for Windows. Unlike VirtualBox and VMware Workstation, Hyper-V is a Type 1 Hypervisor, meaning it interfaces directly with the hardware layer, even when installed on a standard Windows 11 laptop. Hyper-V is available in Windows 11 Pro, Enterprise, and Education editions.
Enabling Hyper-V in Windows 11 (Graphical Method)
1. Access Programs and Features from Control Panel
Hyper-V is enabled through the "Turn Windows features on or off" under Programs and Features within control panel.

2. Click on Turn Windows features on or off in the upper-left

3. Locate Hyper-V in the Feature List
Ensure that Hyper-V Management Tools and the Hyper-V Platform are both checked. This installs the actual hypervisor and the administrative tools.

4. Windows Applies the Hyper-V Components
Windows prepares the necessary components and applies the Hyper-V configuration.

5. Installation Complate - Restart Required
Windows finishes enabling the required virtualization configuration. A restart is required before Hyper-V becomes active.
A system reboot is necessary to finalize Hyper-V activation. After the restart, Windows will boot with Hyper-V as the underlying Type 1 hypervisor.

6. Hyper-V Manager ready to go

Enabling Hyper-V Using DISM (Deployment Image Servicing and Management)
1. Running DISM to Enable Hyper-V
The DISM command enables Hyper-V components through the Windows servicing engine. This is a command-line alternative to the graphical Windows Features menu.

2. Restart System
Reboot required once the operation completes successfully.

Enabling Hyper-V Using PowerShell
1. Running the Hyper-V Install Command in PowerShell
PowerShell provides another command-line method to enable Hyper-V. This method is popular for automation and scripted deployments.

2. PowerShell Installing Hyper-V Components
PowerShell installs the Hyper-V Platform and management tools. This handles all required dependencies automatically.

3. Restart Prompt After PowerShell Installation
Once PowerShell completes installation, the system must restart to activate Hyper-V as the primary hypervisor layer.

These are just a few ways to get started with virtualization in a home lab environment. There are countless setups and implementations that go a long way — from installing Oracle VirtualBox on a standard Windows 11 PC to setting up a virtualization server from scratch running on Arch Linux.
From an experimental standpoint, virtual machines can feel like a digital playground. Virtualization lets you break things, fix things, learn, tinker, build systems, and expand your IT skill set without worrying about damaging your main machine. It's one of the most powerful educational tools available to anyone in technology today.